Yesterday I walked through the first third of this massive build. Those first four bags built the two smaller structures that accompany the temple. Each of these models has been a lot of fun to build, with a variety of inventive techniques and great details.
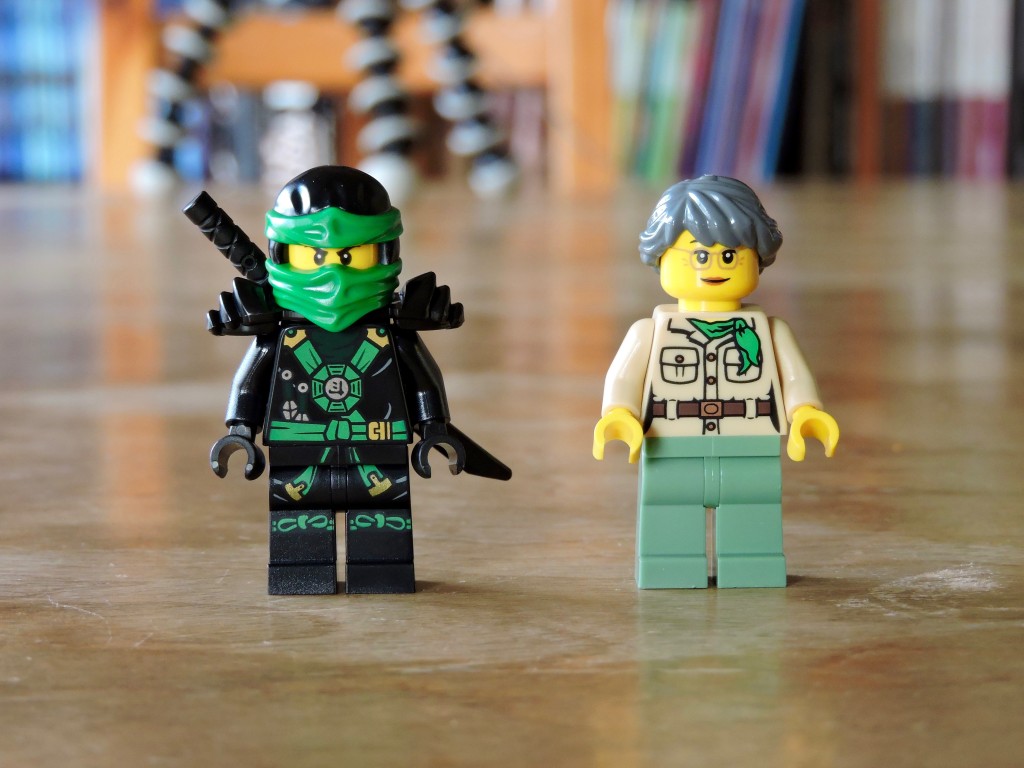
Let’s get started with the minifigures from bag 5, Lloyd and his mother, Misako. There isn’t much to say about Lloyd that I haven’t said about the other ninjas in this set, but Misako is a welcome addition. Though she has been a part of the Ninjago storyline for a few years, this is the first time that she has appeared in minifigure form. She has a great look as an older adventurer/archaeologist.
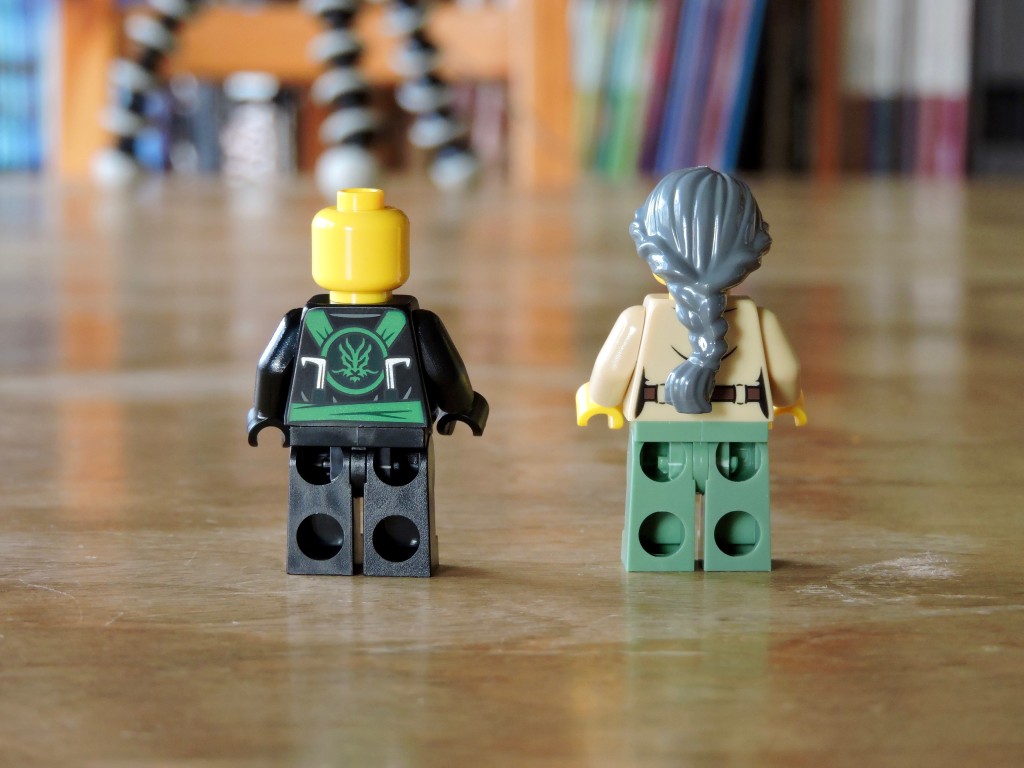
Both torsos have back printing, but the real treat for me was the long, dark gray braid down Misako’s back.
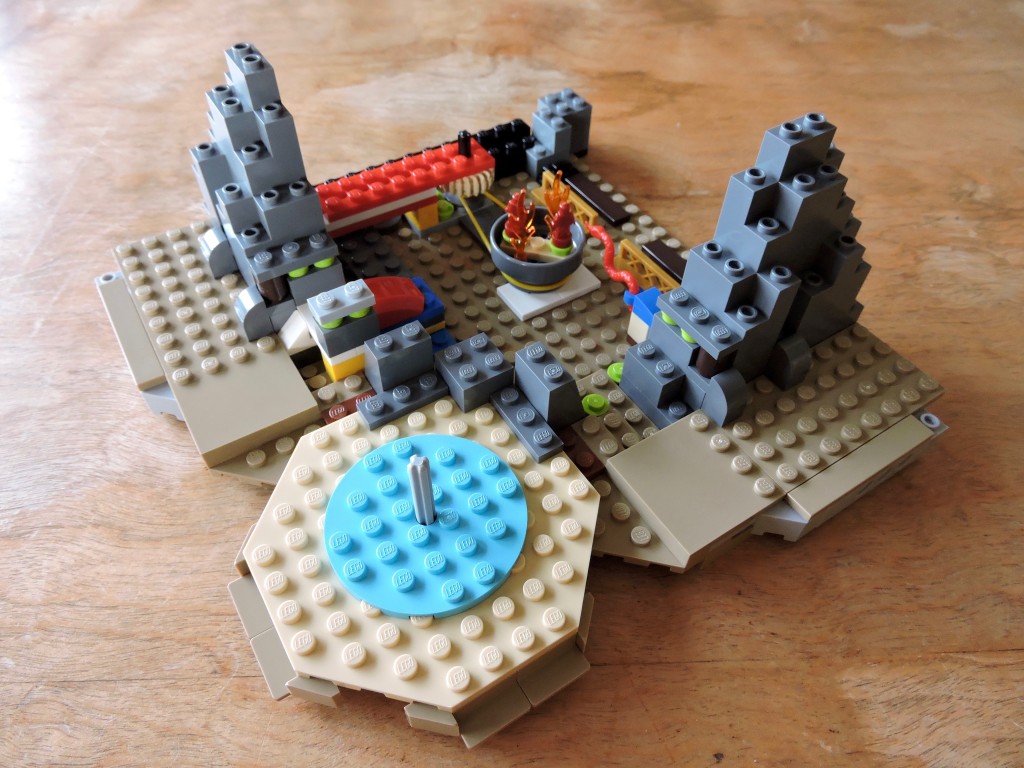
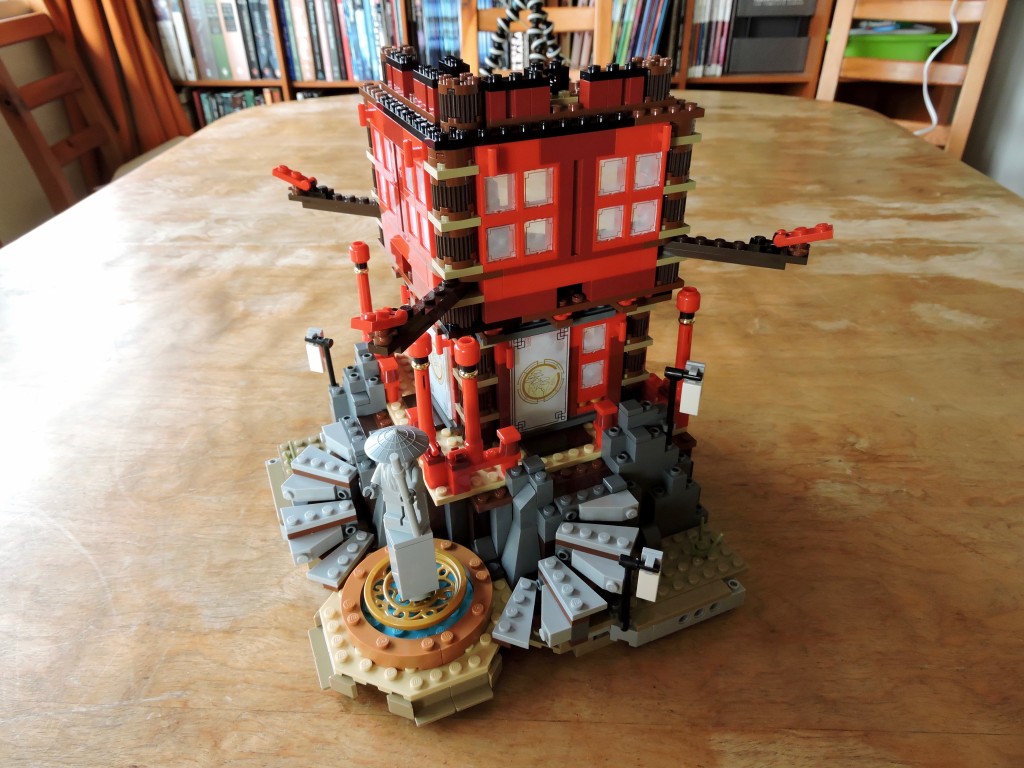
Digging into bag 5, we get started building the temple’s foundations. Here we put together the first parts of the shadow theater that hides underneath the temple and the rocks that the pagoda stands on.
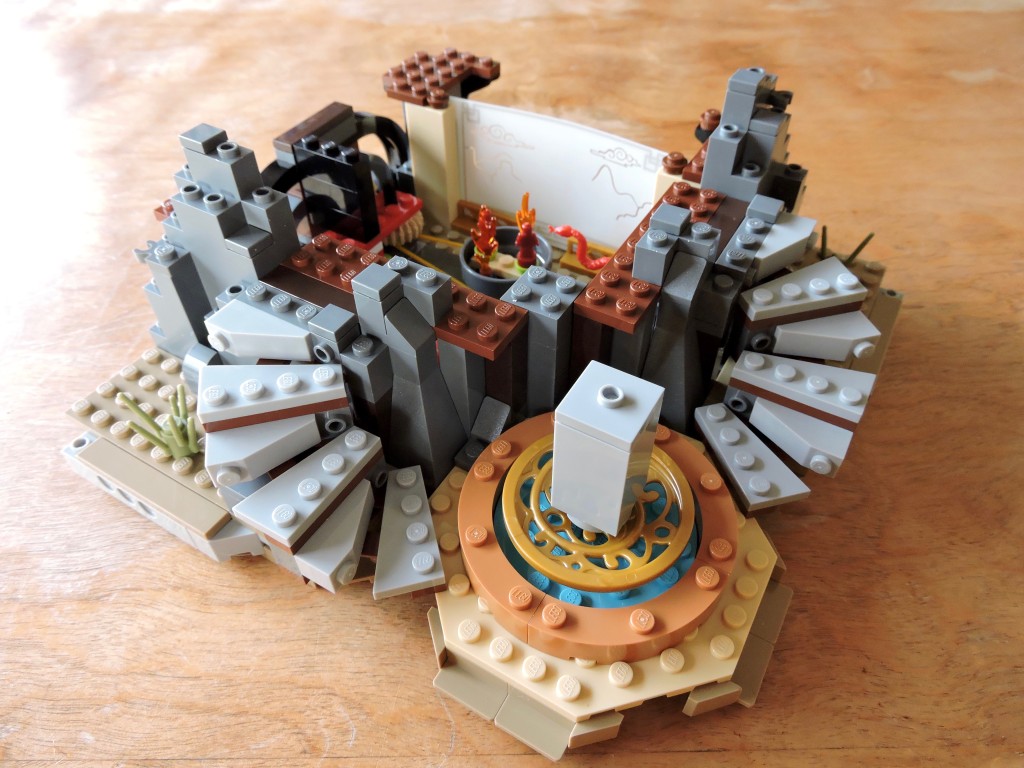
In bag 6 we finish up the rocky foundations. I particularly liked the curving stone steps on either side built with a mix of modified plates and snot.
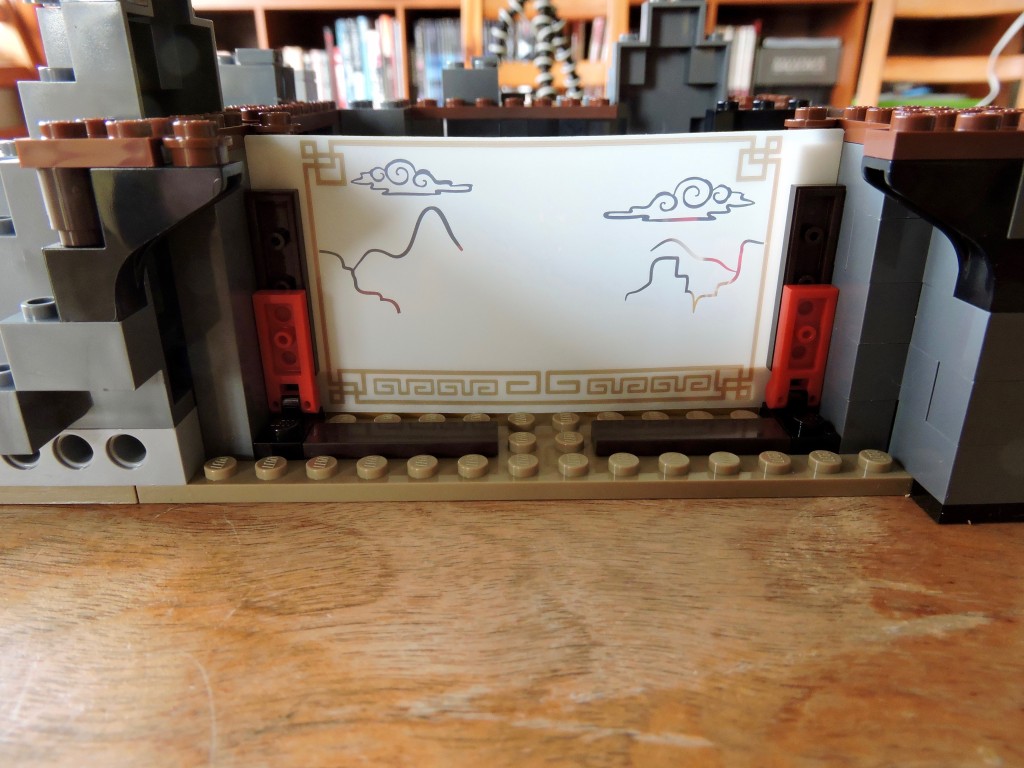
Turning things around, we find the shadow theater. Over the last two bags, we’ve built a simple mechanism that, with the help of light brick, casts moving shadows against this translucent screen. This is a clever little play feature, nicely tucked out of sight under the building itself. The only bummer here was that the screen doesn’t quite fit in the space and bows out slightly.
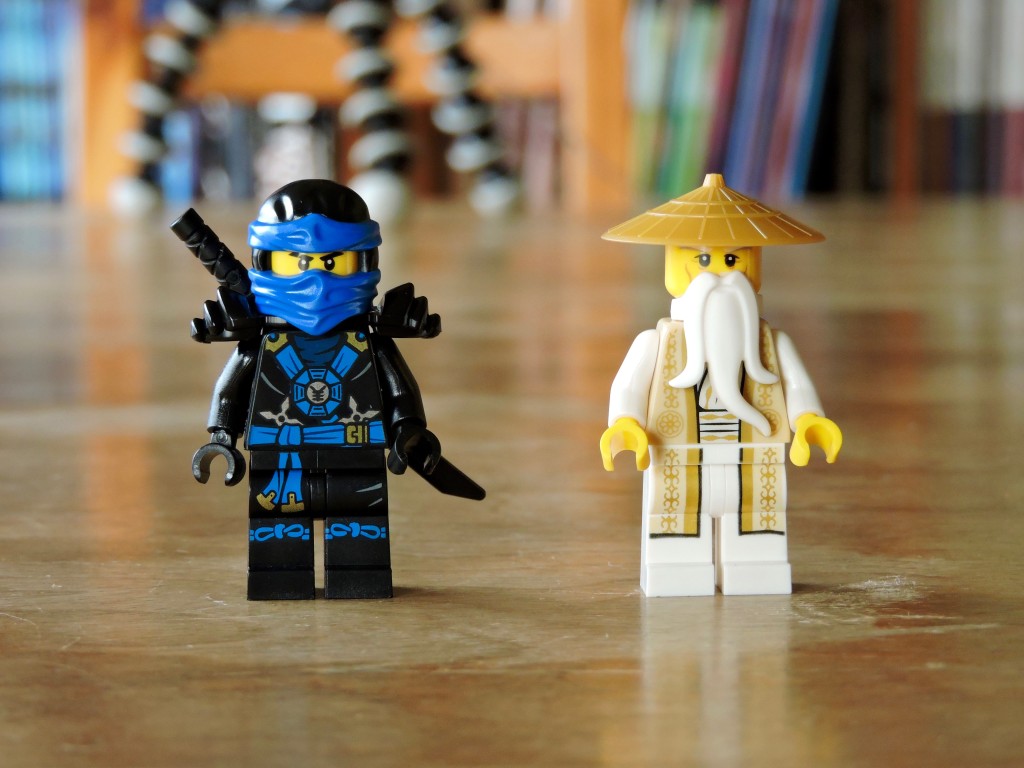
In bag 7 we get Jay and Master Wu. This is a new version of wu in fancy gold-embroidered robes that is unique to this set.
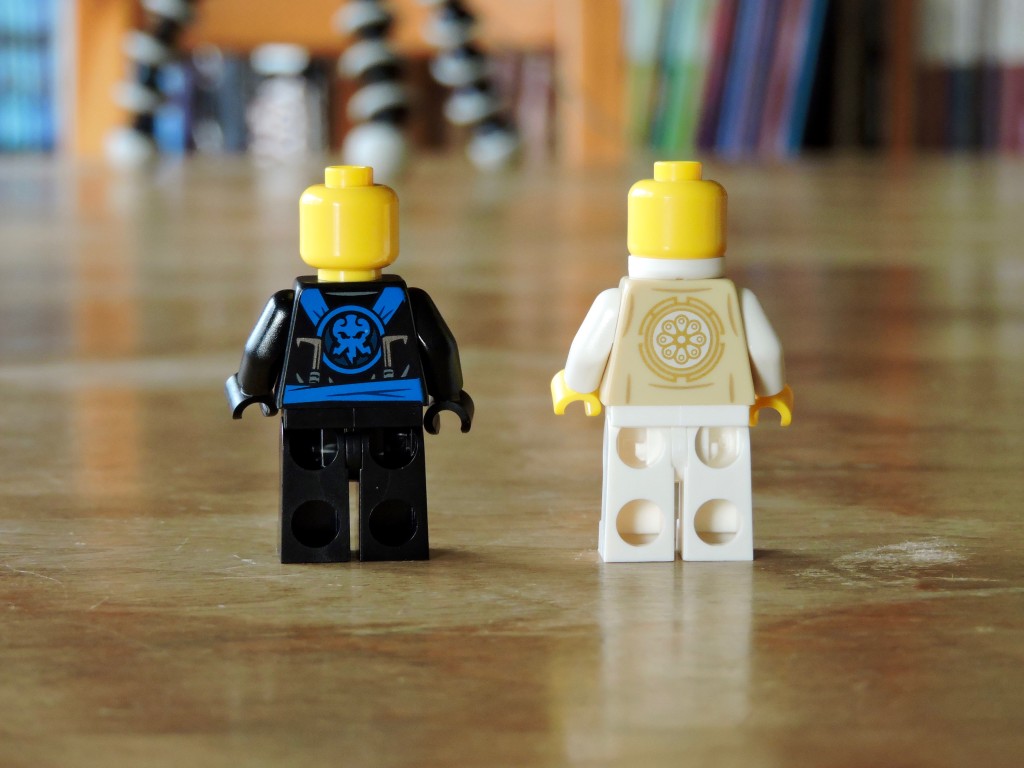
I really like the subtle patterns on the back of Wu’s torso here.
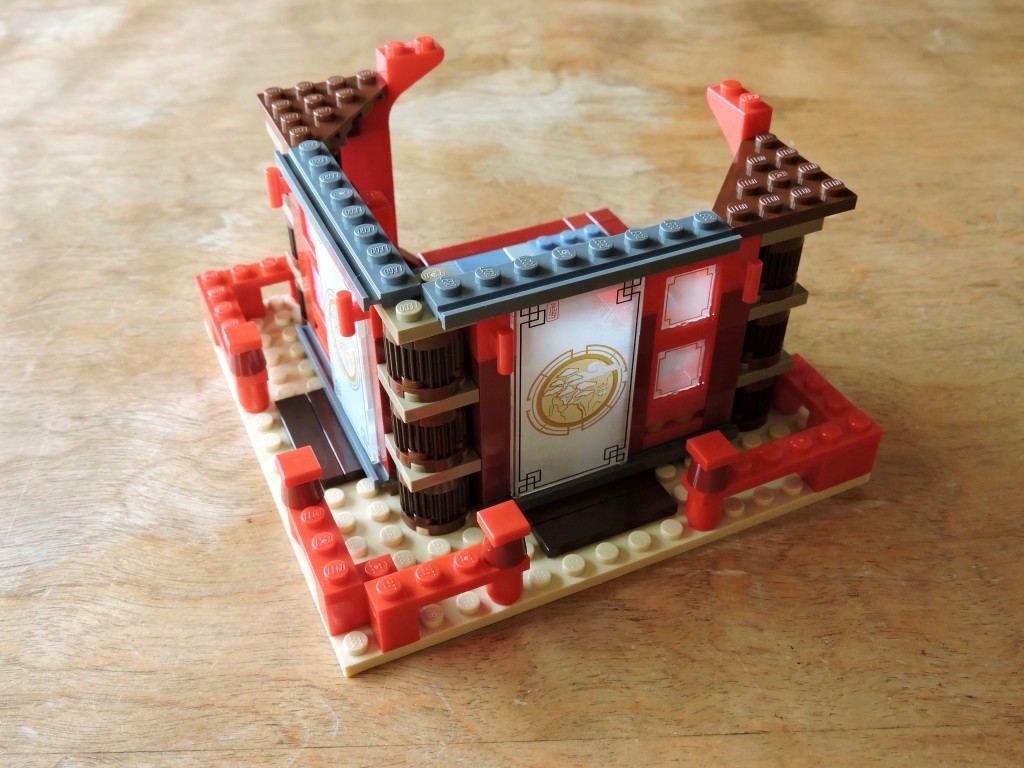
Setting aside the foundation for now, we build the first floor with the rest of bag 7. Right away they are establishing the bright reds and earthy wood tones. This was also where I first got to use these new window panes. I knew that they were printed, but I had assumed that they would be opaque white with printed designs. LEGO went all out on these though, using mesh of white printing on transparent windows to produce a nice emulation of rice paper translucence.
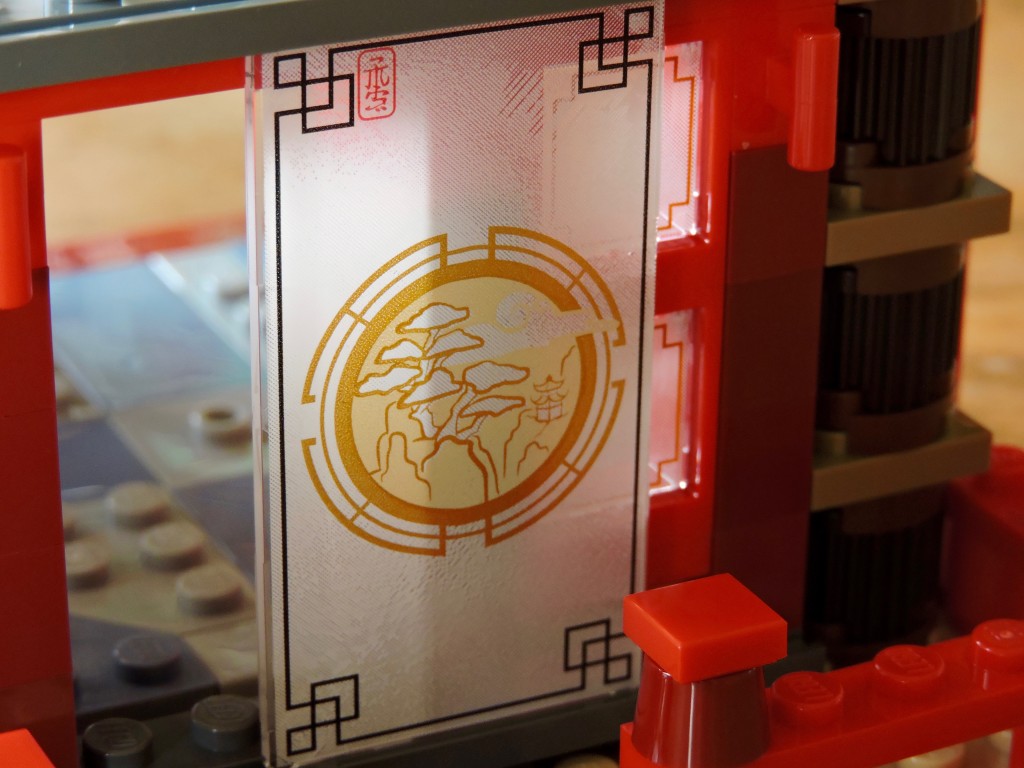
Up close, we can really see how nice this effect is, allowing shadowy outlines to show through but still seem substantial. There is also an elegant technique using plates with rails to effect sliding doors.
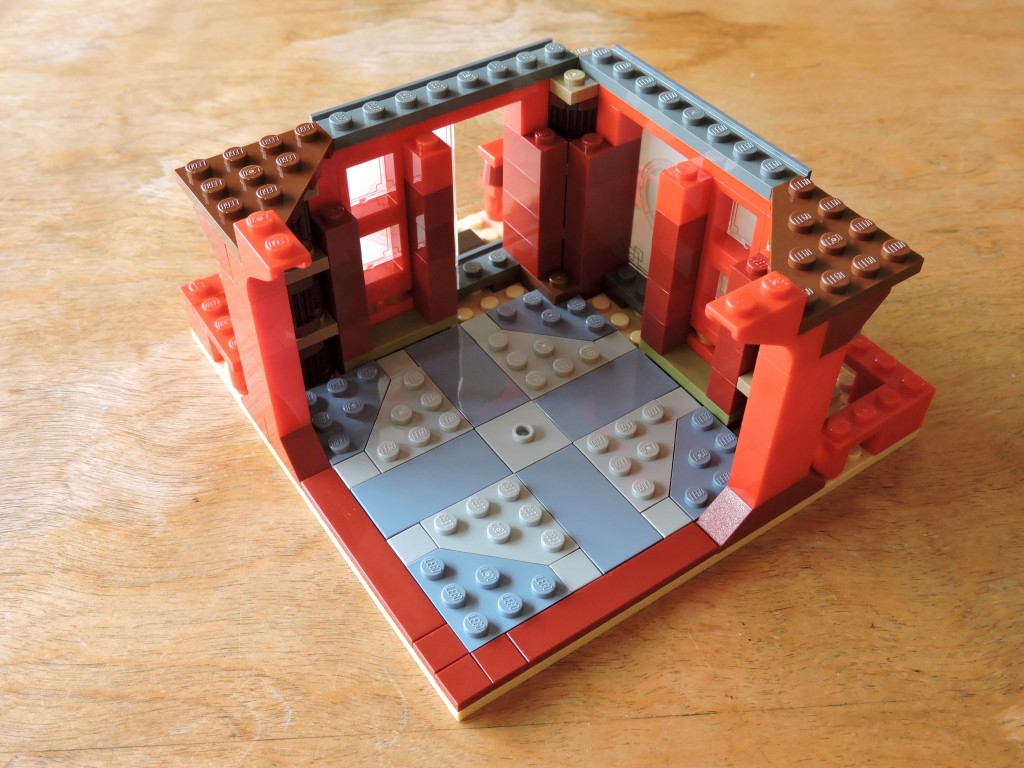
Around the back, we can see the cool floor with a pattern of nice pale tones.
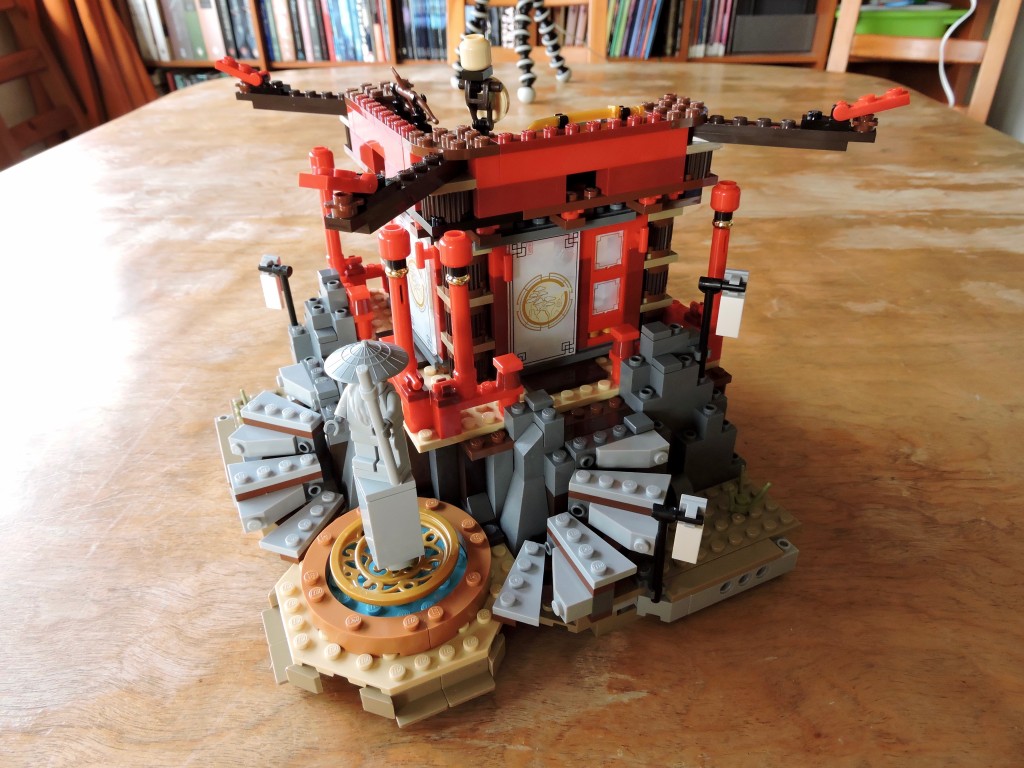
Bag 8 gives us the parts to mount the first floor onto the foundation and begin the second floor. In addition we finish out a number of details, adding a statue, and decorative beams and posts.
The second floor has two big walls of those translucent windows, but otherwise bag 9 is fairly sedate.
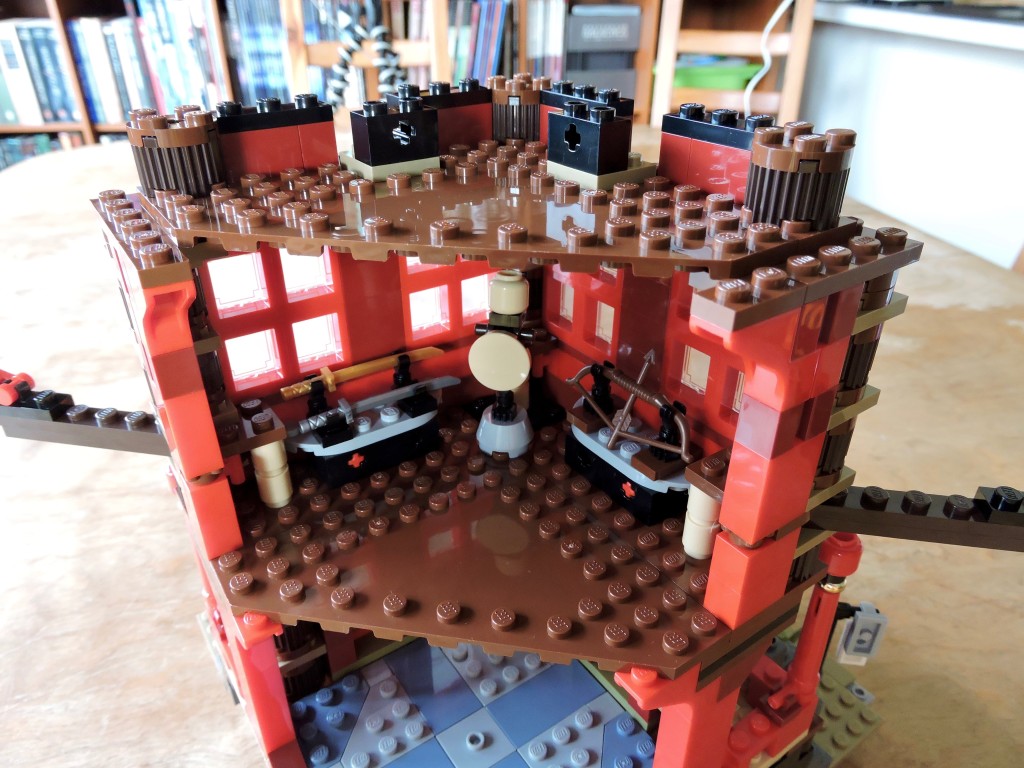
On the inside, we have finished up a practice room with a sparring dummy and weapon racks.
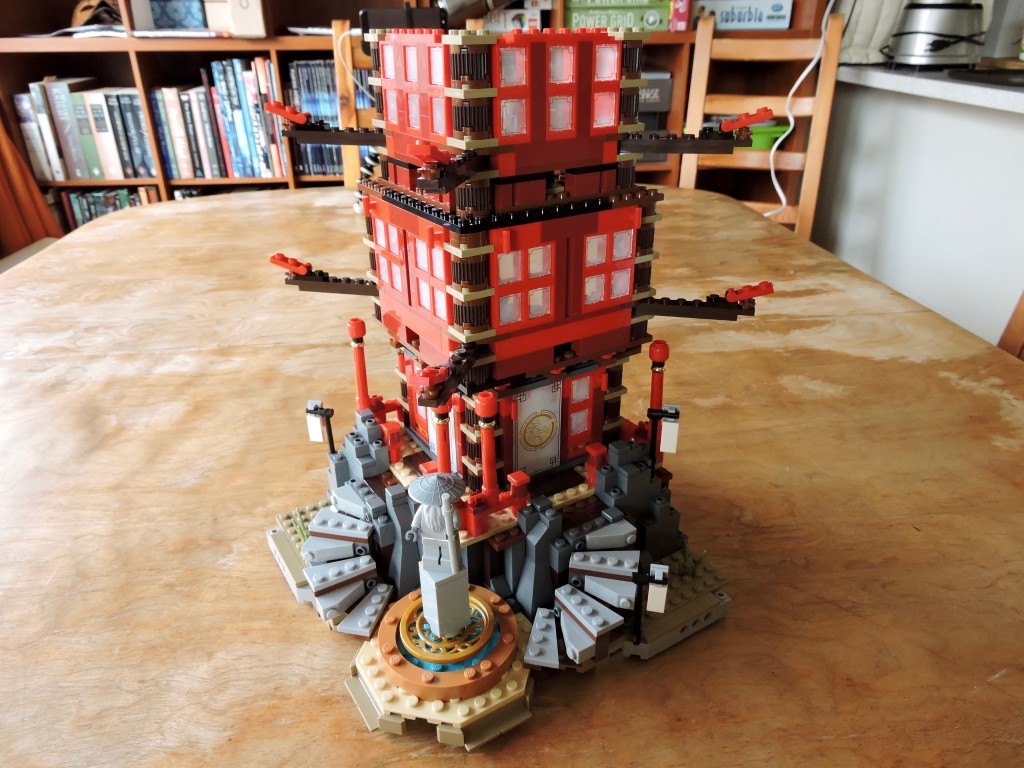
Bag 10 builds the walls of the third and final floor with even more windows.
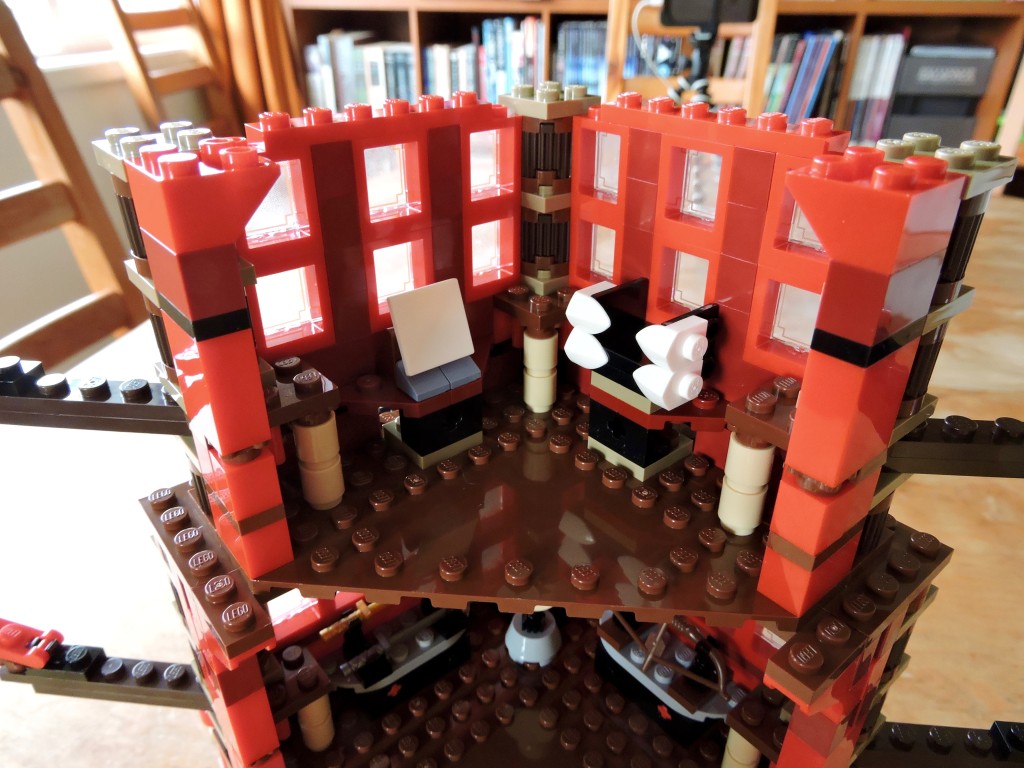
Up on the third floor, we’ve built a study for Master Wu. The ‘bookcase’ on the right seems like an odd build, but it holds three book elements nicely. If I was applying stickers, you would see a sample of calligraphy on the left in that blank square.
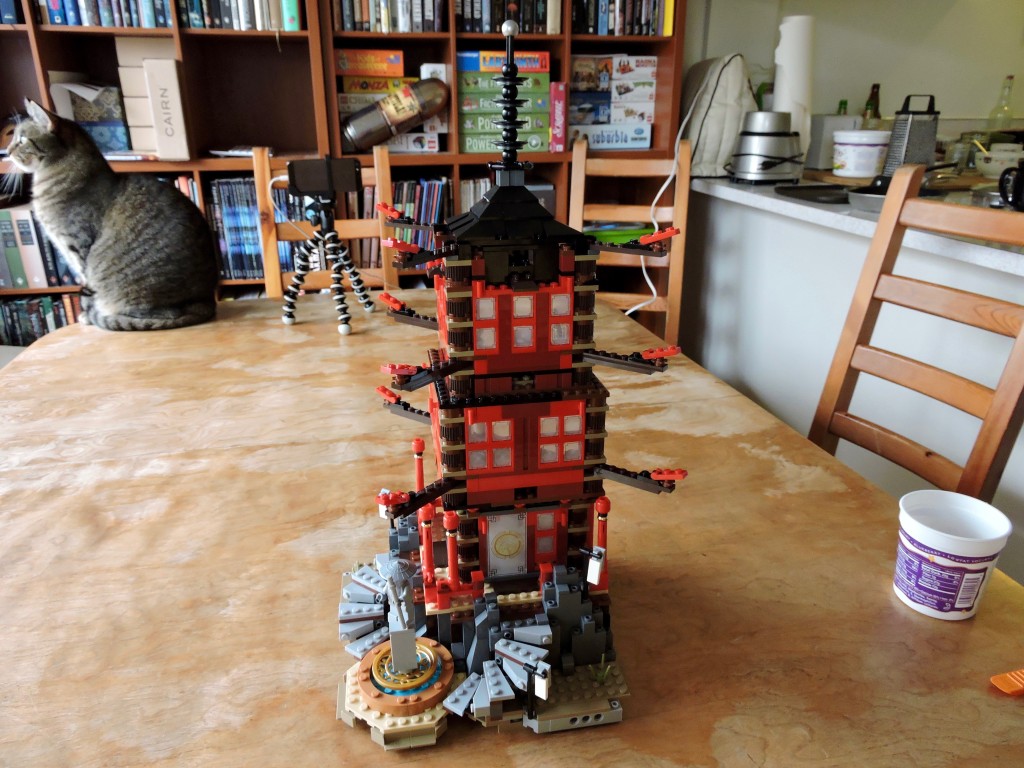
With bag 11, we finally build the roof and its spire, complete with a silver ball at the top.
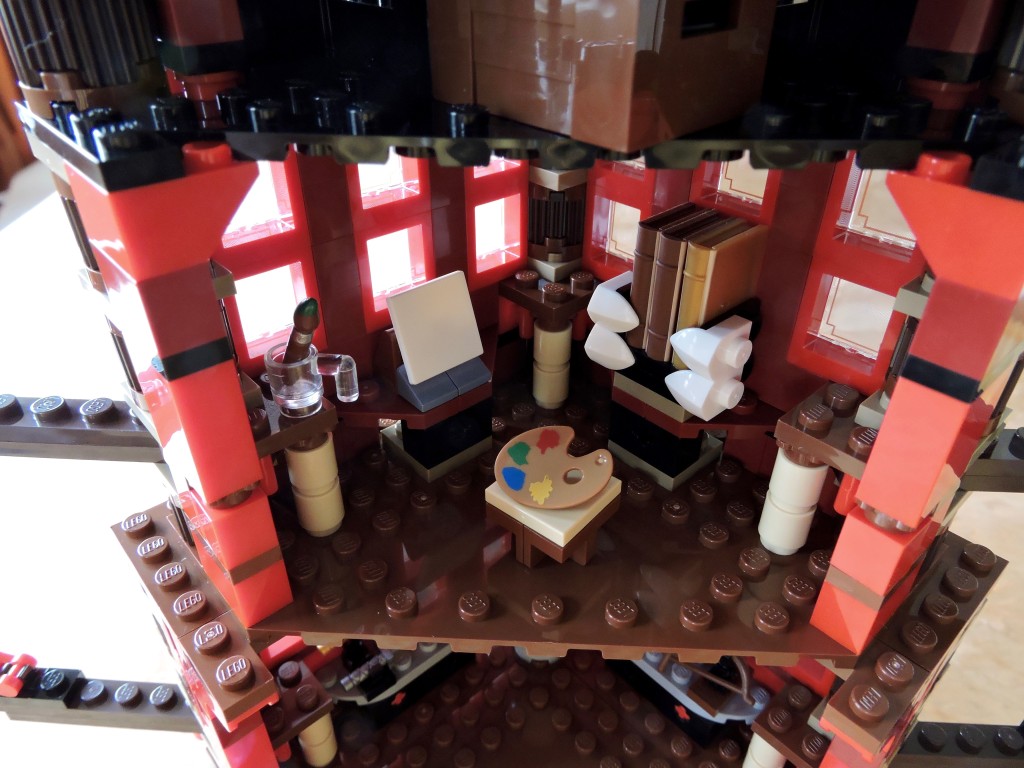
Back inside, we finish out the rooms, adding a stool and other accessories to Wu’s study. Up top, you can just see the crate of stuff tucked into the attic under the roof. There are a number of easter eggs in the set like this with colorful possessions stashed away here and there.
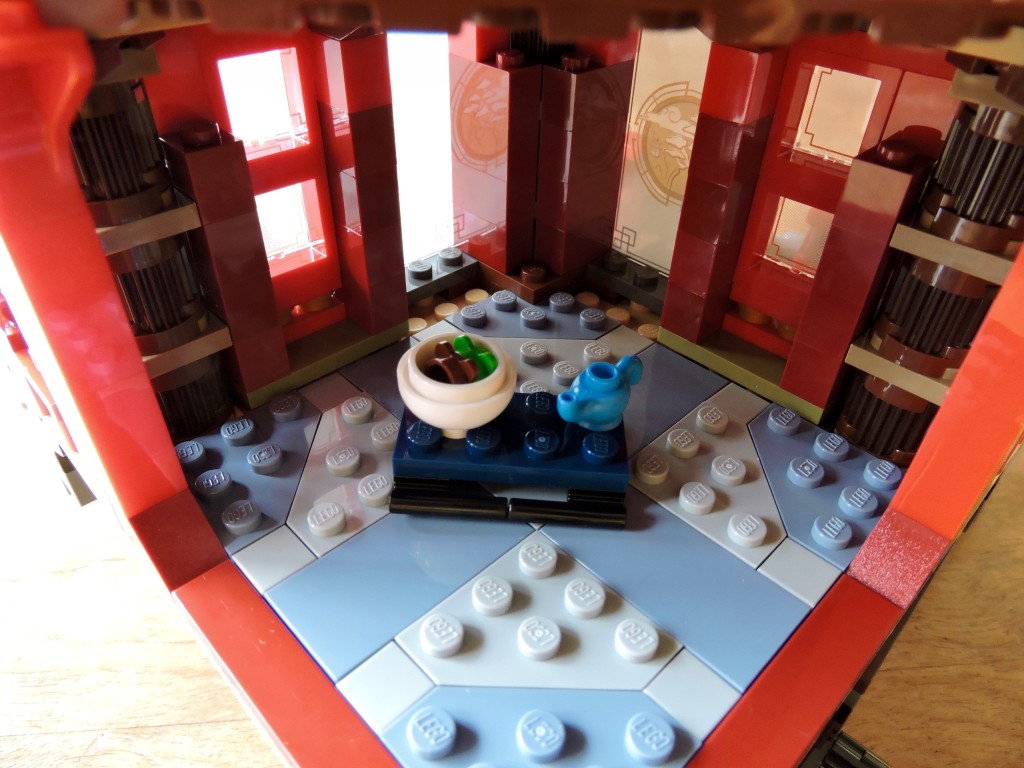
Downstairs we add a tea service to the ground floor, transforming it into a tea room.
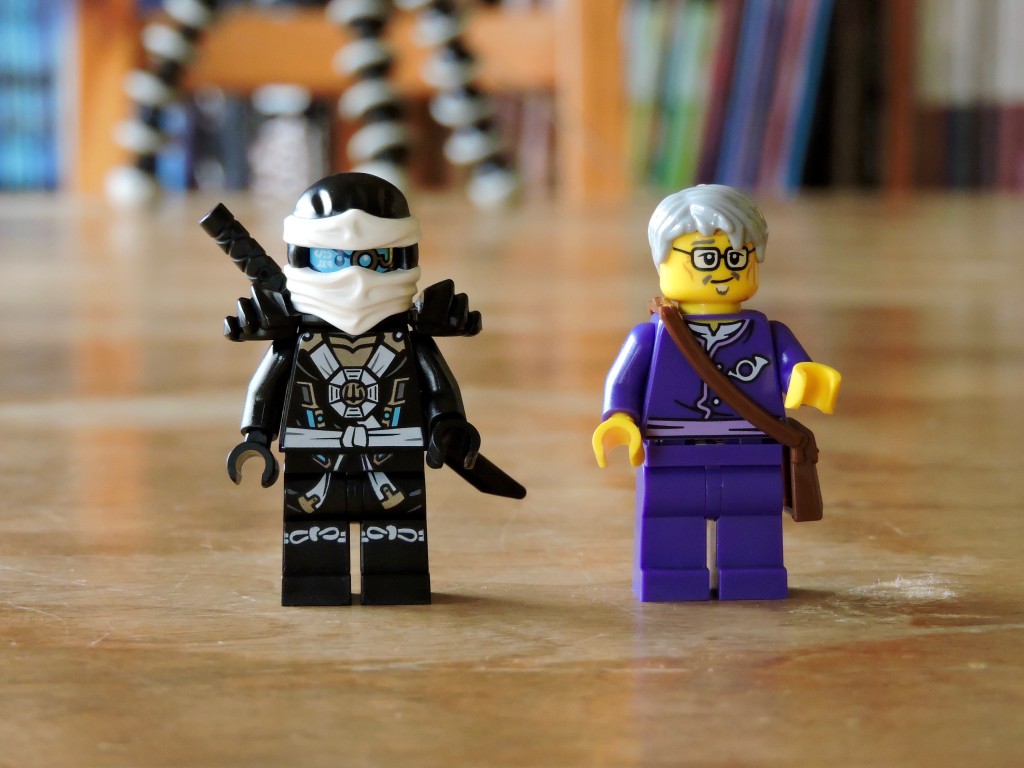
Getting to bag 12, we find the last of the ninjas, Zane, and the postman. I love the quirky cast of characters that they’ve included in set.
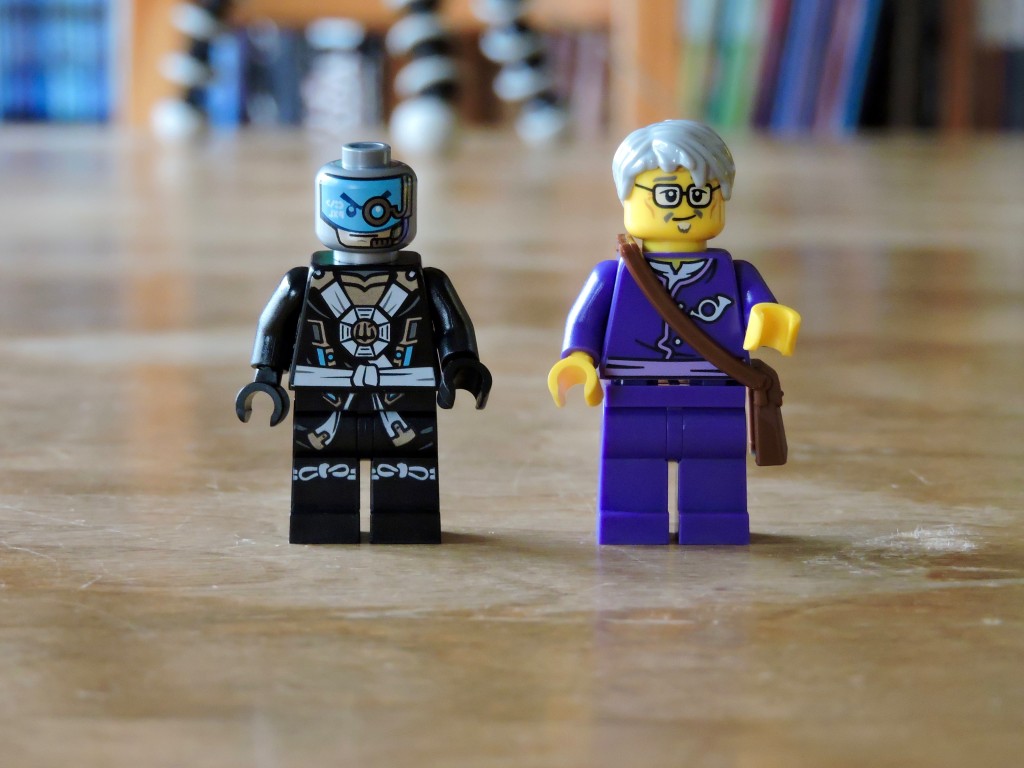
This newer version of Zane has a nindroid style head with some kind of combat visor on one side…
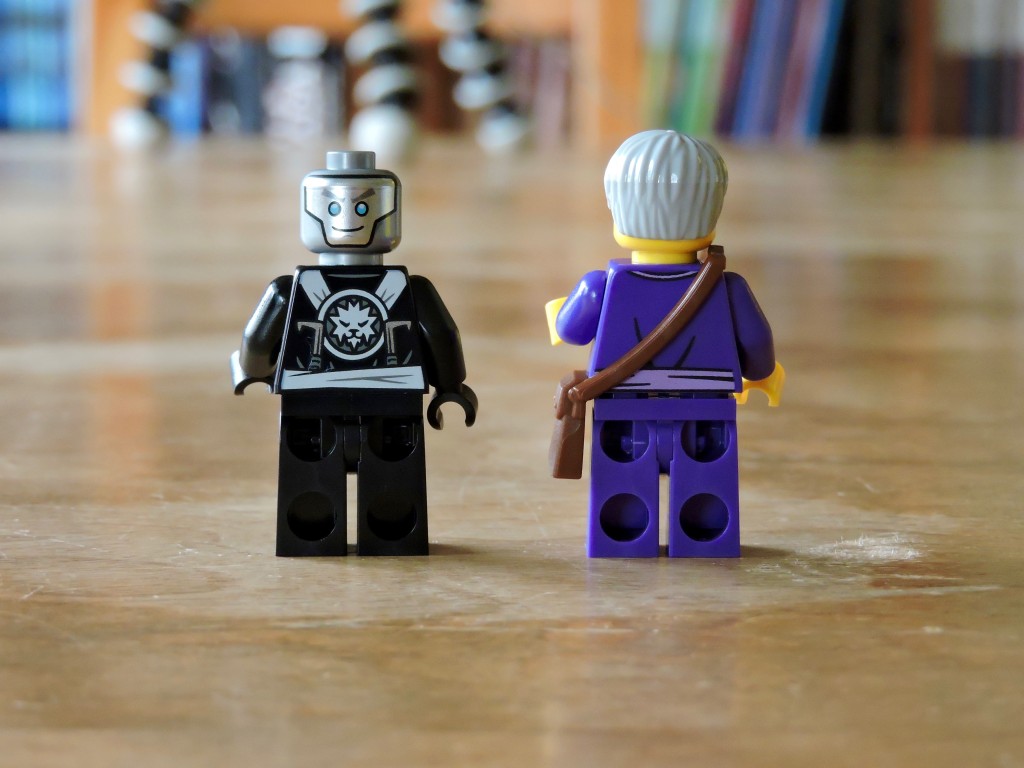
and much happier smile on the back. That’s the only two-faced head in the set.
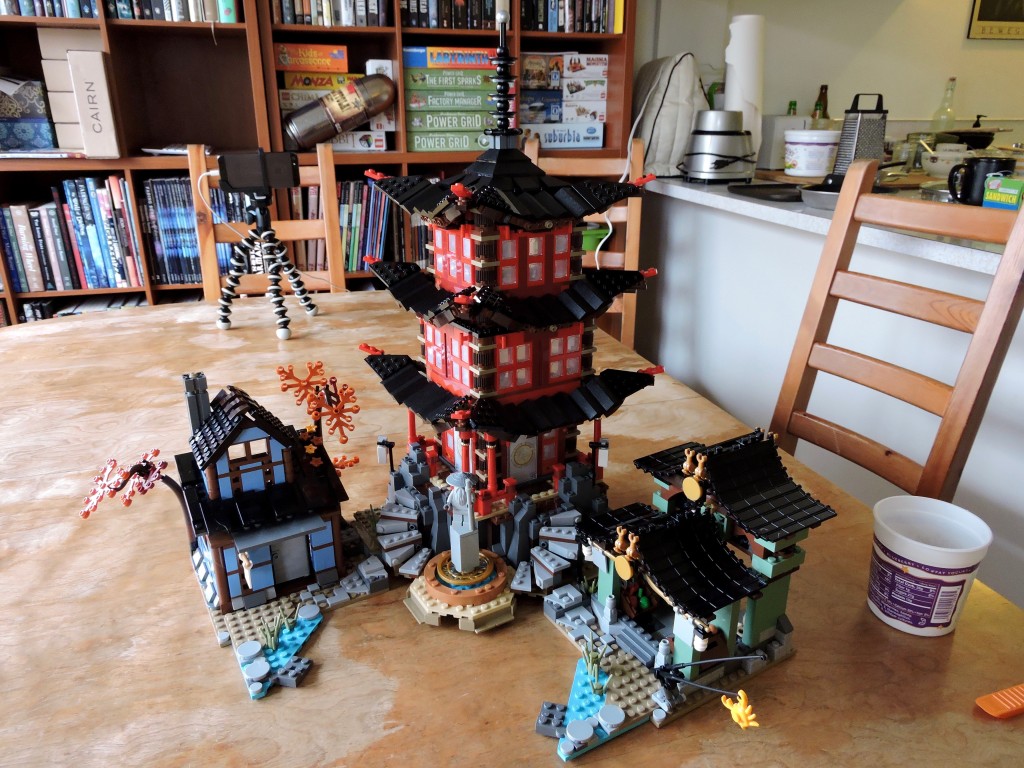
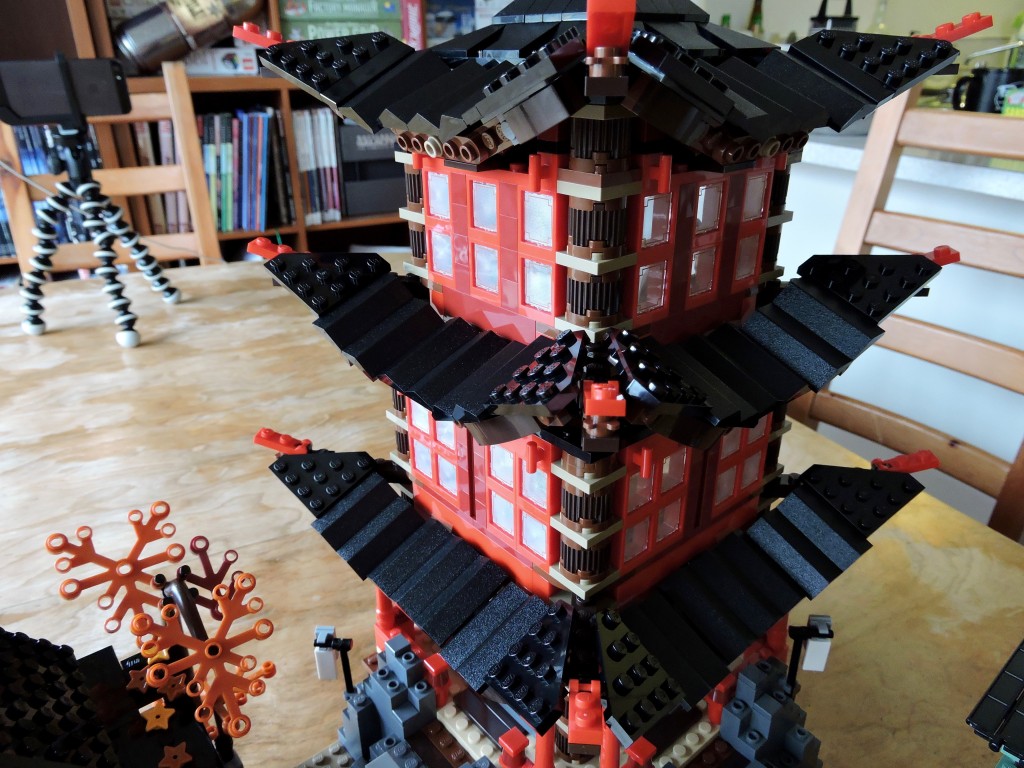
Nearing the end, bag 12 fives us the parts to build the eaves to each floor of the pagoda. This was also the point where I understood some of the unusual gaps that I’d been leaving in the structure, as they turned out to be essential for attaching these roof sections.
The concave bow of each roof is a nice mix of hinging connections and snot. Another great technique to file away for future use.
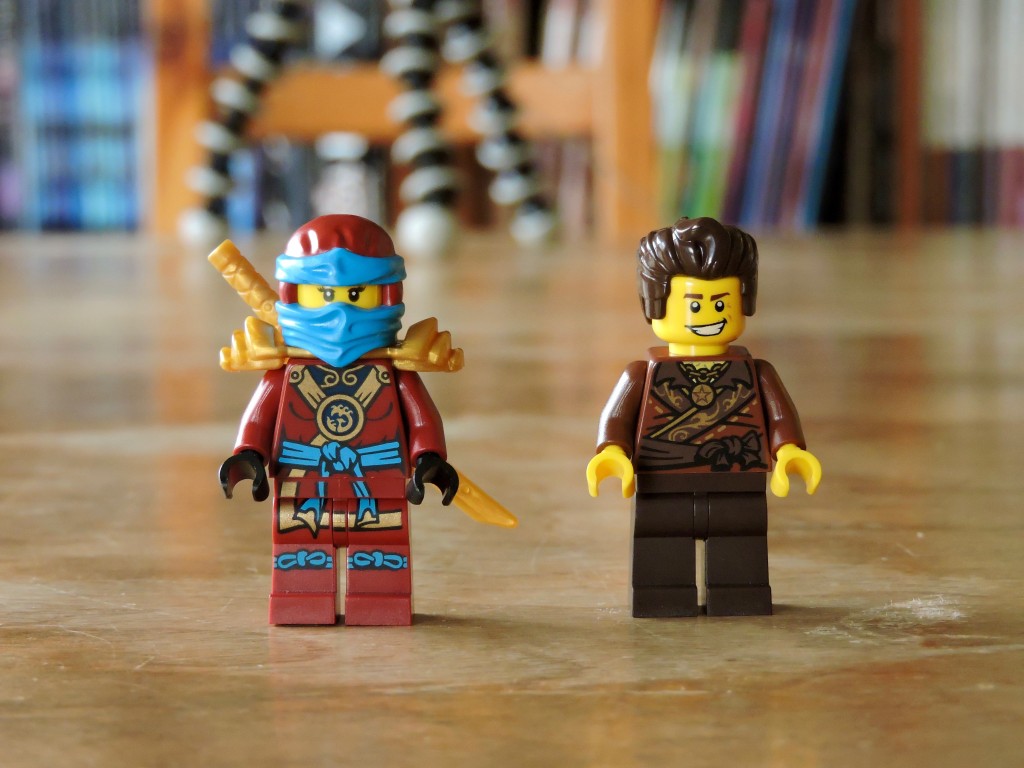
In our last bag, number 13, we get Nya and Dareth. This version of Nya has a great ninja-style outfit but in colors that stand out from the rest. Dareth has only ever appeared as a promotional polybag, so it’s fun to get the ‘brown ninja’ in this set as their mascot.
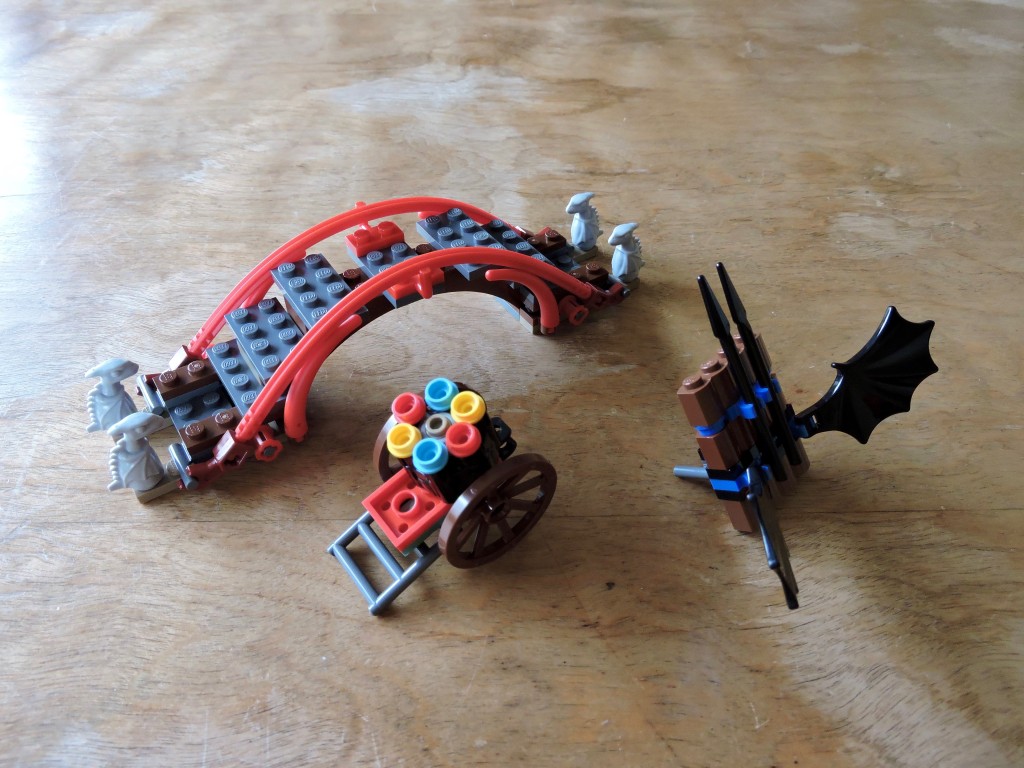
The last few things that we build are a bridge, that will span the gap in the front of the finished model and a couple of contraptions. The cart is a fireworks cannon, using the new six-shooter stud launcher to fire colorful dots into the air. The thing with the wings is some kind of glider and I suspect that it has roots in the earlier Ninjago stories that I don’t know very well.
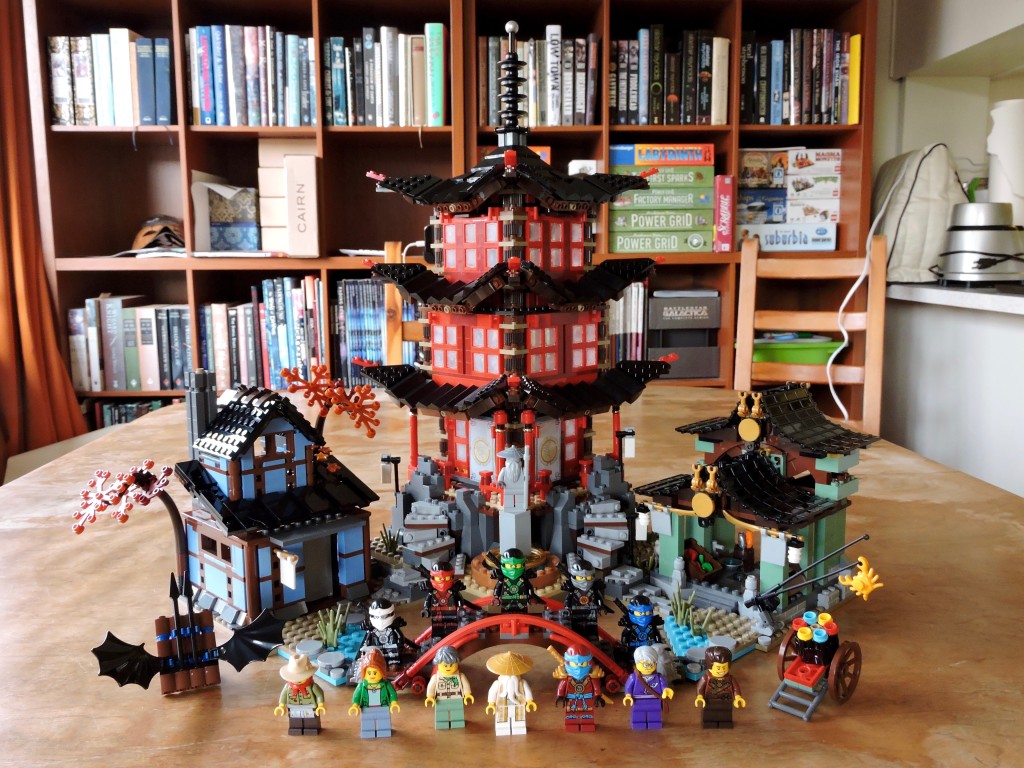
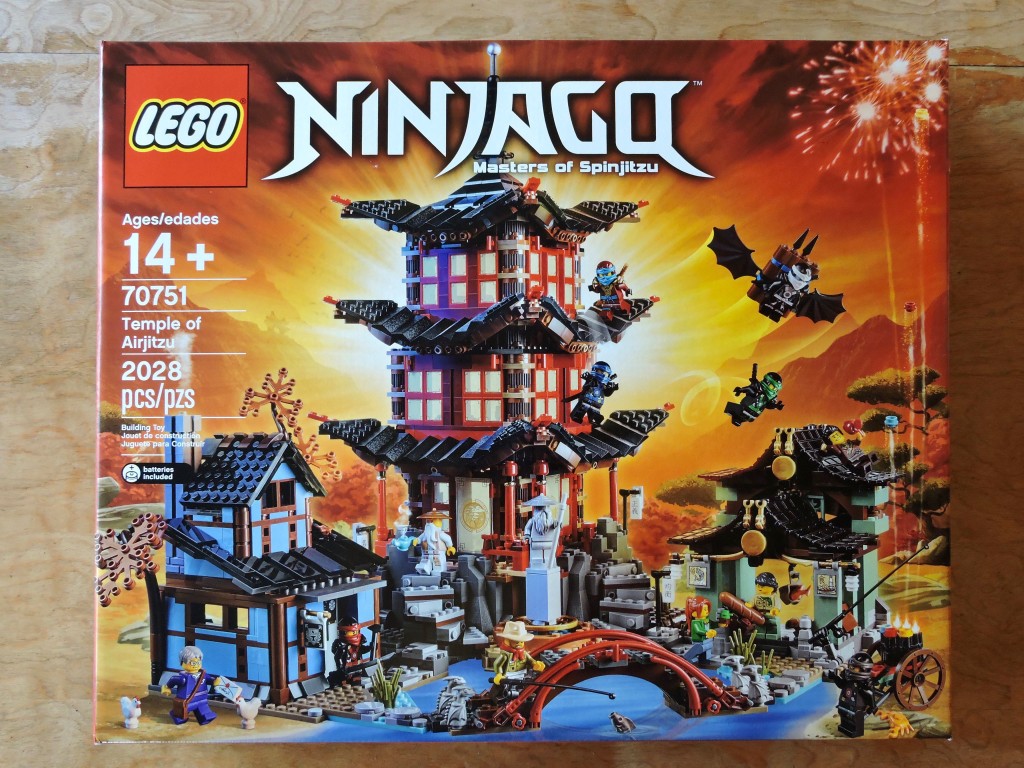
All finished, the Temple of Airjitzu is an impressive model. Three buildings and a dozen minifigures make for a beautiful display or a super-fun playset.
This set is such a joy to build that I really can’t recommend it enough. Everyone that I’ve talked to that had already built it had nothing but glowing praise for the inventive models within. This is certainly the finest example of asian style architecture that I’ve seen in any set.
All that praise aside, there are still some cut corners and missing details that bother at my AFOL nature, but that only gives me inspiration to build similar models with my own obsessive attention to detail.
An outstanding set that I can’t say enough good things about. If it’s in your budget, check it out for yourself.
Keep building and enjoy!
